
 VA 703-457-9028
 Apply for Financing

The AC installation process has six steps: (1) a home assessment and load calculation, (2) choosing the system and approving a written estimate, (3) the permit and preparation, (4) removal of the old unit, (5) installation of the indoor and outdoor equipment, and (6) startup, testing and a walkthrough. AVS completes a plain central AC replacement in one day, while added duct work or panel upgrades push the job to a second or third day.
Most homeowners only see the end of an air conditioner installation: a new unit outside and cold air inside. The steps that decide whether that unit performs well happen before and after the crew carries the equipment in. Sizing, refrigerant handling, airflow and paperwork are where a good installation and a bad one part ways.
This guide walks through each step of central AC installation in the order it happens. For each one you will see what the technician does, what you decide, what to ask for and what should worry you. Shopping for AC installation in Fairfax, VA, Arlington, Alexandria or Bethesda? Keep this page open when the quotes arrive and tick off each step. How long the work runs when your ducts stay in place is covered in our central air installation with existing ductwork guide.
Step 1: Home Assessment and Load Calculation
What a load calculation is: A load calculation, called Manual J in the industry, measures how much cooling your house actually needs. The result is the system size in tons. It is the single most important number in the project, because every later decision depends on it.
What the technician does: A proper assessment looks at square footage, insulation levels, window area and orientation, ceiling heights, the condition of your ductwork and how many people live in the home. The technician also checks where the equipment will sit, how airflow will run and whether your electrical service can support the new unit.
What you decide: Whether to size for the home as it is today. Replacing a three-ton unit with another three-ton unit because “that is what was there” is the most common sizing mistake. Windows, insulation and finished basements change the math over the years.
Ask for: A sizing recommendation based on a calculation, not on the old unit’s label. Two related ACCA standards often appear on quality jobs: Manual S for matching equipment to the load and Manual D for designing ducts. The math behind tonnage is explained in our air conditioner sizing guide.
Red flag: A quote that arrives without anyone measuring or inspecting the house.
Step 2: Choosing the System and Approving a Written Estimate
What the technician does: Once the load is known, the technician lays out the options that fit your house. Central AC is the straightforward swap when ducts and furnace are in good shape. A heat pump replaces both the AC and most of the heating. A ductless mini-split suits homes without ducts. AVS installs Trane, Carrier, Lennox, Rheem, Bryant, York, Goodman, Amana, Mitsubishi, American Standard and Ameristar.
What you decide: The system type, the efficiency rating (SEER2, where higher means lower electric bills) and the brand. When the furnace is old as well, get a price on a heat pump alongside the AC.
Ask for: A written estimate that lists each of these items:
- The exact indoor and outdoor model numbers and the efficiency rating
- The refrigerant the system uses
- Permits, removal and disposal of the old unit
- Electrical work, condensate drain and thermostat
- Any duct repair, listed as its own line
At AVS, you approve an exact price in writing before anything is scheduled. The estimate is free, and a free Nest thermostat comes with any complete system installation (not combinable with other offers).
Red flag: A low price that leaves out permits, electrical work or duct repair, so the real cost shows up later.
Step 3: Permit and Preparation
What the technician does: Before the crew arrives, the contractor checks whether your address needs a mechanical permit, which most jurisdictions across Northern Virginia and Maryland do for an AC replacement. In Fairfax County, replacing an HVAC system is one of the listed reasons to pull a residential mechanical permit, and filing is done online in PLUS. Owners are allowed to file, but the county would rather a licensed contractor stand behind the permit. Its residential mechanical permit page has the current process. Other counties and cities set their own rules, so ask which one covers your home.
What you decide: The install date. Fall and winter slots open up fastest, while summer queues for routine replacements can run weeks.
Your preparation:
- Leave a clear route to the condenser site and to the indoor furnace or air handler.
- Shift stored boxes out of attics, crawlspaces and utility rooms the crew may need.
- Keep pets and kids away from the work area.
- Plan for noise and a brief power shutoff.
Red flag: A contractor who says no permit is needed without checking your local rules.
Step 4: Removing the Old Unit
What the technician does: The crew shuts off power to the system, then recovers the refrigerant from the old unit as the law requires. Only after that are the condenser and any indoor parts being replaced, such as the evaporator coil, disconnected and removed. A technician certified for refrigerant handling should do the recovery, and the old equipment leaves with the crew.
What you decide: Whether any of the old components, such as the pad or thermostat, should be reused. Your estimate should say.
Ask for: Confirmation that the refrigerant is recovered, not released.
Red flag: A crew that cannot say who is handling the refrigerant.
Step 5: Installing the Indoor and Outdoor Units
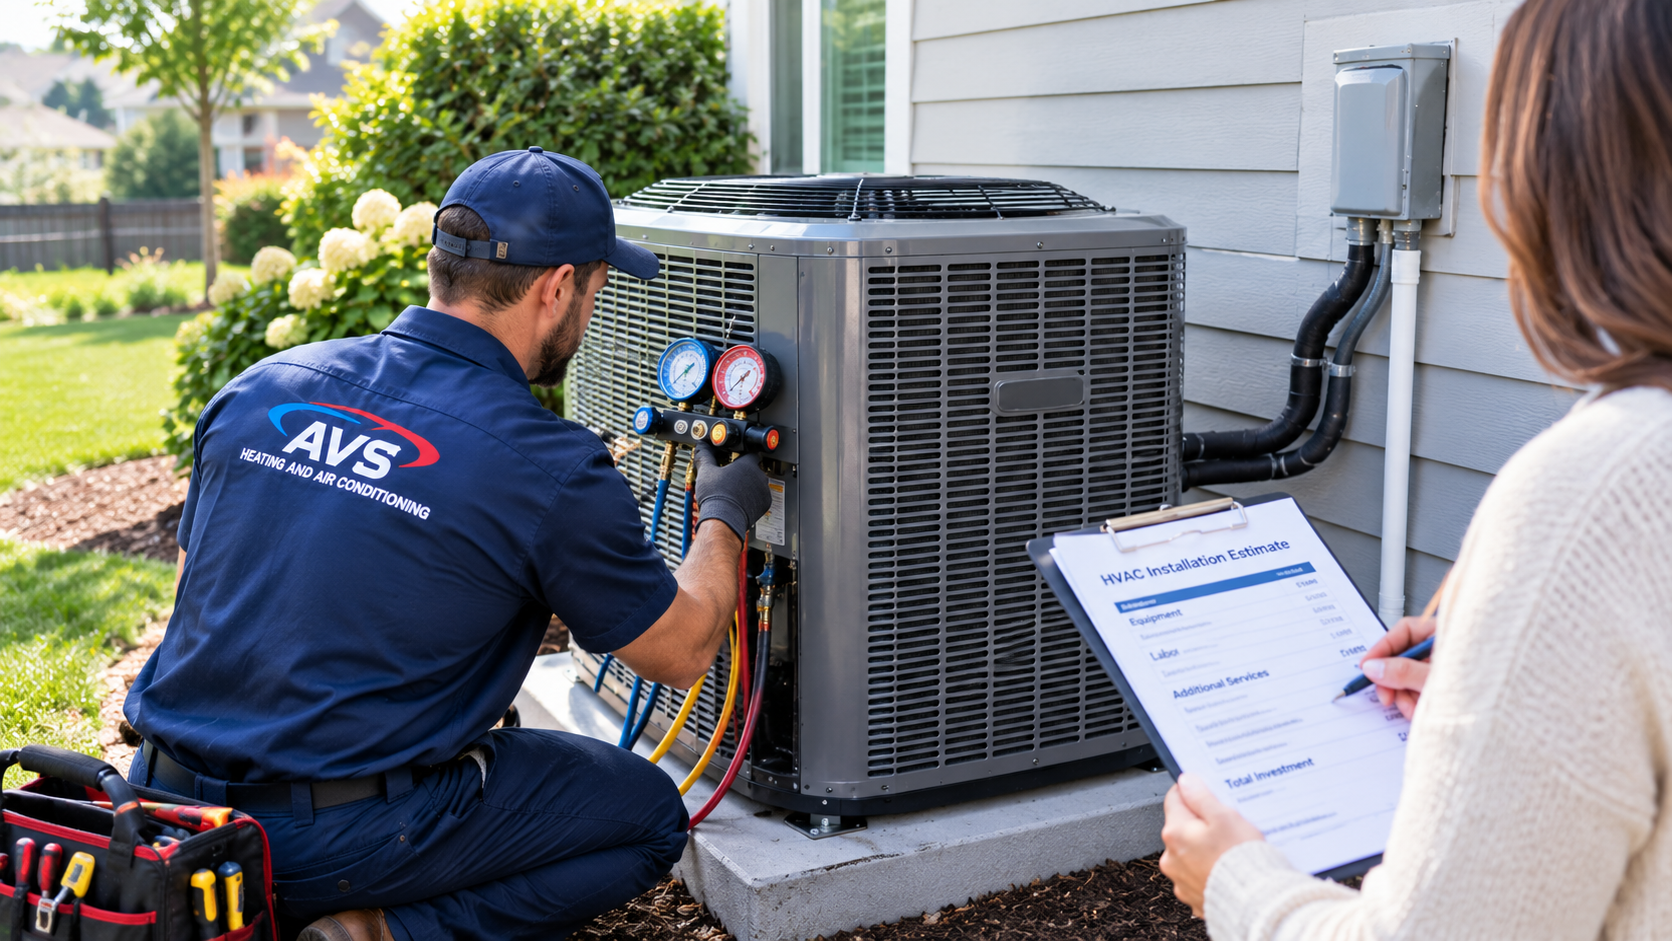
What the technician does: This is the longest step and the one that decides performance. The new outdoor condenser is set on a level pad with proper clearance. The evaporator coil is connected to your furnace or air handler, and the refrigerant line set is run between the two halves. The condensate drain and electrical connections are completed and the thermostat is wired and configured.
What good practice looks like: Industry guides describe a few steps worth knowing about. Budget Heating’s installation guide says the copper lines are brazed while nitrogen flows through them to prevent internal scale, then pressure tested with nitrogen and evacuated to a deep vacuum of about 500 microns before any refrigerant goes in. It also says the refrigerant charge is weighed in and then fine-tuned. These are details worth asking about, because they are easy to skip and hard to see afterward.
The indoor coil must match: The coil has to fit your furnace or air handler and the refrigerant type, or the system will underperform and may void its warranty. AVS checks compatibility before recommending a partial replacement.
Red flag: A crew that cannot tell you how the lines were tested or how airflow was checked.
Step 6: Startup, Testing and Walkthrough
What the technician does: The system is started and the refrigerant charge is set to the manufacturer’s specification. The crew then measures airflow and the temperature drop across the coil, runs every operating mode and completes the safety checks. Carrier describes the same finish: the system is run to check airflow, cooling power and pressure levels, followed by a final safety check.
The walkthrough: The technician finishes by demonstrating the thermostat, pointing out the filter location and replacement schedule, and handing over your paperwork.
Warranty registration: Many manufacturers require registration within a set period. For eligible Carrier equipment, registration within 90 days of installation unlocks its Consumer Choice Warranty, either a 10-year parts-only limited warranty or a 5-year parts plus 3-year labor limited warranty. Ask who registers your equipment and get proof. Every AVS installation comes with the manufacturer’s equipment warranty, and a lifetime warranty can be purchased with a new system.
Red flag: Leaving without anyone explaining who registers the warranty.
Documents You Should Receive After Installation
Keep an “HVAC folder” for the life of the system. At the end of the job you should have:
- The invoice, with model and serial numbers
- The AHRI match certificate for the indoor and outdoor combination, where applicable
- The load calculation behind the sizing
- Permit and inspection sign-off
- A startup record showing the tests that were done
- Warranty and registration confirmation
Not sure what to ask each bidder? The ENERGY STAR HVAC quality installation bid sheet turns the same points into questions: Manual J sizing, a duct damage check, refrigerant and airflow verification, and written installation records.
Red Flags During an AC Installation
Walk away, or at least ask hard questions, when you see any of these:
- Equipment recommended without a real home evaluation
- Capacity chosen only because it matches the old condenser
- No model numbers on the quote
- Obvious duct problems ignored
- No explanation of how the system will be tested at startup
- Vague answers on who registers the warranty
- Key work left off the proposal
What to Watch in the First Few Days
Your new system should settle in quickly. During the first several days, keep an eye on comfort, humidity, how often the system cycles, any new noises and any water near the indoor unit or the drain. If something stays off, call your installer promptly rather than waiting for the next season. Keep the filter clean, and schedule a yearly tune-up to protect the system.
AC Installation Cost and Financing
AVS’s AC replacement starts from $2,650 on our offers page, and our cost guide puts a typical central air installation on reusable ductwork at $4,350 to $5,910. Leonard Splaine’s July 2026 guide shows a wider Northern Virginia range of $6,000 to $13,500 for central AC replacement, since it includes larger systems and higher efficiency. The price rises with system size, SEER2 rating, duct condition and electrical work. The full breakdown is in our AC installation service page, and your written estimate shows the exact number for your home.
Need to spread the cost? Wells Fargo financing is available, and certain units carry an 18-month 0% APR plan for approved buyers.
Window, Split and Ductless Installations Are Different
Everything above describes a central air conditioner. A window unit is a one-room, do-it-yourself job, and a split or ductless system is installed with a wall-mounted indoor unit, an outdoor unit and refrigerant lines that run through the wall. If your home has no ducts, a ductless air conditioning installation is often the cleaner answer. AVS lists ductless installation from $3,999.
AC Installation Across Northern Virginia and Maryland
Our installers work out of Fairfax, Falls Church and Bethesda. In Virginia we reach Arlington, Alexandria, McLean, Vienna, Reston and Springfield, and in Maryland Rockville, Silver Spring and Potomac. Rated 4.8 stars on Google, AVS has operated as a family business since 1991 under Virginia and Maryland licences.
One customer wrote that AVS installed a new two-unit system in her art studio “with great respect for my paintings and great service.” For a written estimate, use our contact page or visit the AVS Heating and Air Conditioning home page. Phones: Virginia 703-457-9028, Maryland 301-686-7129.
Virginia HVAC 2705039269A · Maryland HVAC 520714137895 · Maryland Home Improvement 4192876
Frequently Asked Questions About the AC Installation Process
Can I install a central air conditioner myself?
It is not recommended. Central AC work involves regulated refrigerant handling and high-voltage wiring, and mistakes can break local codes, shorten the life of the equipment and void the manufacturer’s warranty. Homeowners can safely handle small tasks such as clearing space around the equipment and changing filters, but the installation itself belongs with a licensed professional.
Do I need to be home during AC installation?
You should be available for the start, when the technician confirms the plan, and for the final walkthrough, when the thermostat and maintenance are explained. In between, many homeowners step out as long as the crew has a phone number and any questions can be settled quickly. Keep the work areas accessible and pets secured.
Should I replace my furnace when I replace my AC?
Not automatically. The deciding factors are the furnace’s age and condition, whether its blower can move enough air for the new coil and whether the two will be matched for efficiency. If the furnace is near the end of its life, replacing both together can avoid a second project and a mismatched pair. A written comparison of both options settles it.
Does a new AC installation need an electrical upgrade?
Sometimes. A central air conditioner needs a dedicated high-voltage circuit, a correctly sized breaker, a disconnect within sight of the outdoor unit and proper wire size. Many homes already have these, but older panels or missing disconnects may need work first. The technician should check the electrical service during the assessment, before the quote is final.
Can my old refrigerant lines and thermostat be reused with a new AC?
Possibly. Lines can be reused only when their size, length and condition meet the new equipment’s requirements and they can be cleaned thoroughly, and many installers replace them when the refrigerant type changes. A thermostat can stay if it supports cooling and the right number of stages for the new system. Your estimate should say which parts are staying.
How is ductless AC installation different from central air?
A ductless system skips the ducts entirely. A small outdoor unit connects to one or more wall-mounted indoor units through a narrow set of refrigerant and wiring lines, so no duct inspection or sealing is needed. It suits additions, finished attics and older homes without ducts. Central air is built around the duct system, so duct condition affects the job.
