
 VA 703-457-9028
 Apply for Financing
Last updated: October 2026
A split AC or ductless mini split works well only when it’s installed to the manufacturer’s specifications. The seven rules professionals follow are: size the system for the room, mount the indoor unit high with enough ceiling clearance, give the outdoor unit open space on a level base, keep the refrigerant lines within the allowed length and height, slope the condensate drain, wire it to the right circuit, and vacuum the lines before releasing refrigerant.
| Guideline | Typical requirement | Source |
| Indoor unit height | About 6 to 7 ft (1.8 to 2.1 m) above the floor | Carrier |
| Ceiling clearance | At least 6 in (15 cm) above the indoor unit | Carrier |
| Outdoor unit clearance | About 24 in (60 cm) around the unit | Carrier |
| Minimum line set length | Often about 10 ft (3 m), varies by model | DELLA, HVAC Pro Sales |
| Max line set length | Often 65 to 80 ft (20 to 25 m), varies by model | Aircondlounge |
| Pre-charged line length | Often 15 to 25 ft (4.5 to 7.5 m) before extra refrigerant is added | HowLongFor |
| Max height difference | Often 50 to 80 ft (15 to 25 m), varies by model | Aircondlounge |
| Vacuum before startup | 500 microns or lower | EcoTemp HVAC |
| Professional install time | 4 to 8 hours for a single-zone system | Engineer Fix |
Your unit’s installation manual always comes first. These numbers are typical guidance, and exact limits depend on the brand, model and capacity.
Planning a ductless or split system? AVS installs ductless air conditioning across Northern Virginia and Maryland. Call 703-457-9028 (VA) or 301-686-7129 (MD).
1. Size the system for the room
A split AC that’s too small runs constantly and still can’t keep the room cool. One that’s too big cools quickly but shuts off before it removes enough humidity, leaving the room feeling sticky, as Paschal Air, Plumbing & Electric explains. The right capacity depends on the room’s size, insulation, windows, sun exposure and how the space is used, so a proper load calculation should come before choosing a unit.
2. Mount the indoor unit at the right height and spot
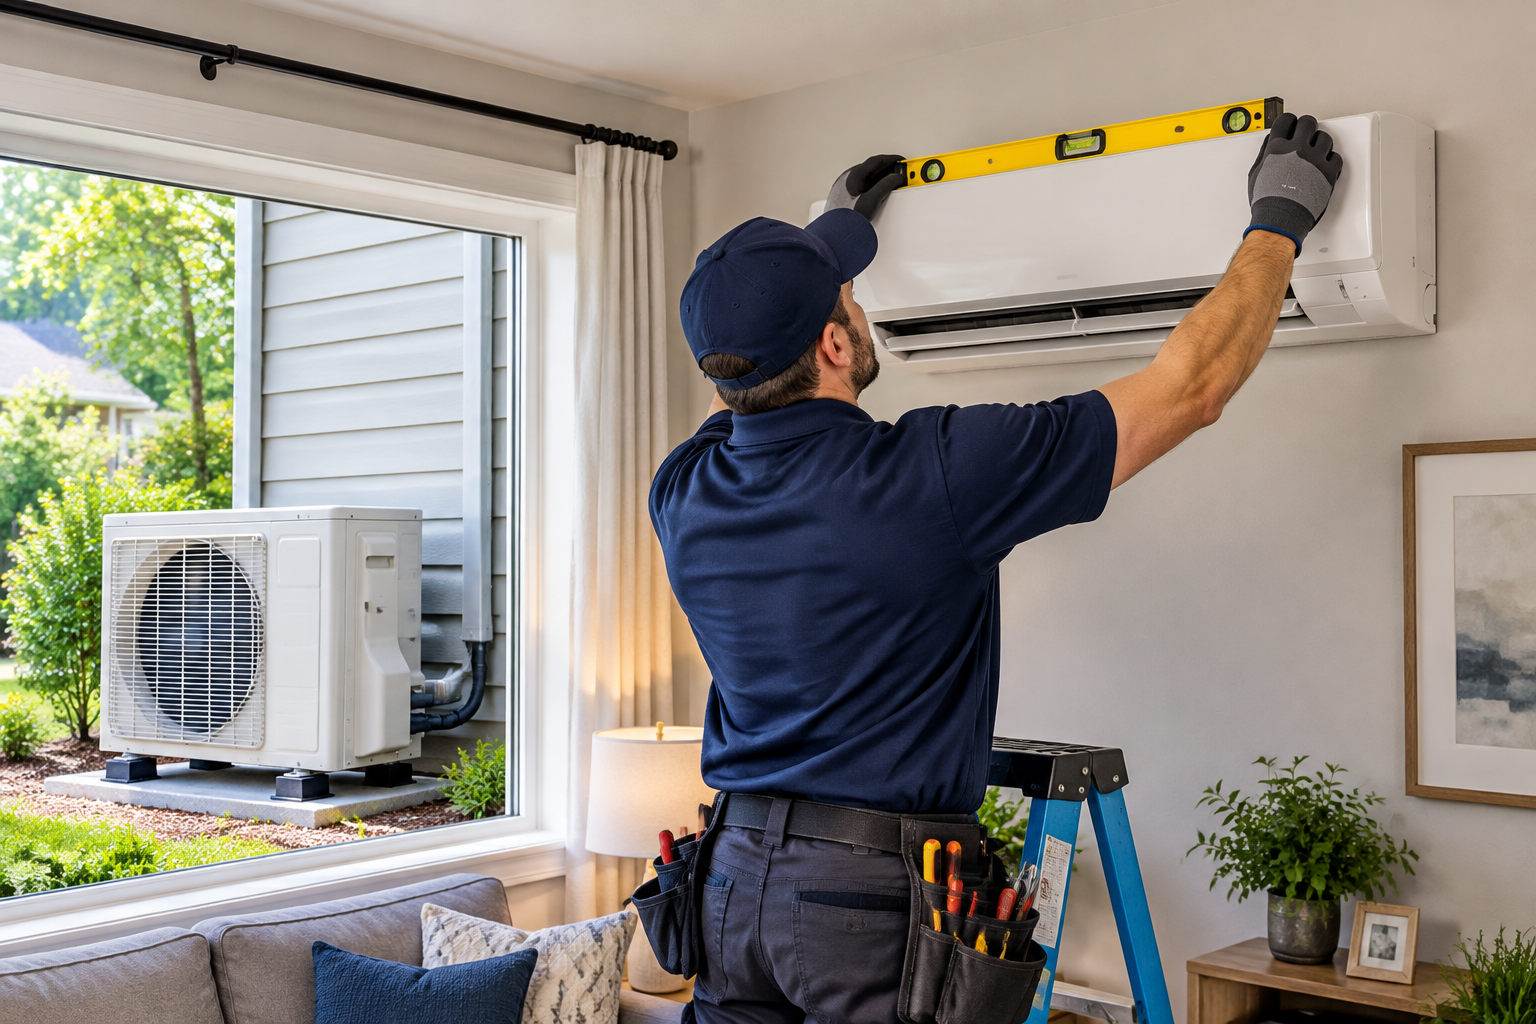
Carrier recommends positioning the indoor unit approximately 6 to 7 feet above the floor and keeping at least 6 inches of clearance between the top of the unit and the ceiling, or whatever clearance the specific model calls for.
Ceiling clearance matters more than people think. The indoor unit draws return air in from the top, so mounting it tight against the ceiling starves it of airflow. MRCOOL also recommends at least 6 inches of space on each side for airflow and maintenance access.
Choose a spot that:
- Lets air flow across the room without hitting furniture, beams or cabinets
- Stays away from direct sunlight and heat sources like lamps or TVs
- Has a clear path for the refrigerant lines and drain to reach an outside wall
- Leaves room to open the front panel and clean the filters
- Doesn’t sit directly above a bed or electronics, as HVAC Toolkit advises
MRCOOL notes that installing a unit without the manufacturer’s specified clearances may void the warranty.
3. Give the outdoor unit clearance and a level base
The outdoor unit releases the heat removed from your home, so it needs open air around it. Carrier advises aiming for at least 24 inches of clearance around the outdoor unit for ventilation and maintenance access, while the exact minimum distance from the wall depends on the model.
Outdoor placement checklist:
- Set the unit on a solid, level pad or a wall bracket designed for it
- Keep shrubs, fences and stored items out of the clearance zone
- Leave the service side accessible
- Keep the discharge side away from bedroom windows and neighbors where possible
4. Keep the line set short and well routed
The refrigerant lines, or line set, connect the indoor and outdoor units. Every model has a maximum line length and a maximum height difference between the two units. Aircondlounge notes that the maximum refrigerant pipe length is typically 65 to 80 feet, and the maximum height difference is typically 50 to 80 feet, depending on the model and capacity. Carrier advises following each system’s installation instructions for the allowable line set length and elevation difference.
Line set best practices:
- Keep the run as short and direct as the layout allows
- Avoid sharp bends and kinks in the copper
- Insulate both lines fully, including at the connections
- Seal and weatherproof the wall penetration
- Protect exterior line sets with a line hide or cover
Line sets can also be too short. DELLA notes that many residential mini splits list a minimum line set length of around 10 feet, though the exact figure varies by model, so even a back-to-back installation usually needs more copper than the shortest possible run. On the other end, HowLongFor notes that standard pre-charged line sets cover about 15 to 25 feet, and longer runs need additional refrigerant, which the manual specifies by length.
5. Slope the condensate drain correctly
Split ACs pull moisture out of the air, and that water has to drain away by gravity. The drain line should run with a continuous downward slope from the indoor unit to its outlet, with no sags or uphill sections where water can collect. If gravity drainage isn’t possible, the installer will need a condensate pump.
A poorly sloped drain can make the indoor unit drip water down the wall.
6. Use a dedicated circuit and correct wiring
Split systems need the electrical supply, circuit size and disconnect specified in the installation manual and required by local electrical code. Undersized wiring or a shared circuit can cause nuisance tripping and damage the equipment. The communication wiring between the indoor and outdoor units must also match the manufacturer’s diagram, since a wiring error can stop the system from running or cause error codes.
7. Vacuum the lines and check the refrigerant charge
Before the refrigerant valves are opened, the line set must be pressure-tested and evacuated. EcoTemp HVAC recommends nitrogen pressure tests and pulling a vacuum to 500 microns or lower, noting that leftover air and moisture can lead to acid formation that harms the compressor.
After evacuation, the technician opens the service valves and confirms the refrigerant charge against the manufacturer’s requirements, adding refrigerant only if the line set is longer than the pre-charged length.
Step-by-step: how a professional installs a split AC
- Plan the locations. Confirm indoor and outdoor positions, clearances, line set route and electrical supply against the installation manual.
- Mount the indoor unit’s wall plate. Level it at the planned height.
- Drill the wall penetration. The opening should slope slightly downward toward the outside so condensate drains out, not in.
- Set the outdoor unit. Place it on a level pad or bracket with its required clearances.
- Run and connect the line set, drain and wiring. Make the refrigerant connections to the manufacturer’s specifications.
- Pressure-test and vacuum. Test with nitrogen for leaks, then evacuate the lines to 500 microns or lower. Engineer Fix notes the vacuum step often takes about 60 minutes with professional equipment.
- Open the valves and start the system. Release refrigerant, check the charge and confirm cooling, heating and drainage.
- Seal and finish. Weatherproof the wall penetration, cover exterior line sets and walk the homeowner through the remote and filter cleaning.
How long does split AC installation take?
Engineer Fix notes that a professional crew typically installs a single-zone mini split, with one indoor unit and one outdoor unit, in about four to eight working hours. Each additional indoor unit generally adds two to three hours, so a three-zone system can often be finished in one day, while larger four- or five-zone systems may take two to three days. Long line set runs, difficult wall construction and new electrical work all add time.
Permits and inspections in Fairfax County
Installing a new split system is more than mounting two boxes on the wall. Fairfax County requires a mechanical permit for new, replacement, repair or conversion of HVAC systems, so a ductless installation typically needs a permit and a final inspection. Arlington, Loudoun, Prince William and Maryland jurisdictions set their own permit rules. Your installer should pull the right permit for your address.
Common split AC installation mistakes
| Mistake | What goes wrong |
| Choosing the wrong size | Short cycling, poor humidity control or a room that never cools |
| Mounting the indoor unit too close to the ceiling | Starved return air and the unit reading the wrong temperature |
| Crowding the outdoor unit | Overheating, lower efficiency and harder service |
| Exceeding line length or height limits | Poor performance and possible compressor damage |
| Poor drain slope | Water dripping from the indoor unit |
| Skipping the vacuum | Moisture and air left in the system, risking the compressor |
| Ignoring clearances in the manual | Reduced performance and a possible warranty problem |
Getting ready for installation day
Before your installer arrives, clear the walls where the indoor and outdoor units will go and decide where you’d like the line set to run. For a full checklist, see how to prepare for a split air conditioner installation. If you’re still deciding on equipment, compare a mini split vs a window AC.
Why Northern Virginia homeowners choose AVS for ductless installation
AVS provides professional ductless air conditioning installation across Northern Virginia and Maryland, and handles ongoing ductless repair and maintenance after the job is done.
- Founded in 1991, with more than 50,000 residential and commercial customers served across the Washington DC metro area
- 24/7 service with no extra charge for evenings, weekends or holidays
- Licensed in Virginia (HVAC 2705039269A) and Maryland (HVAC 520714137895, Home Improvement 4192876)
- Call 703-457-9028 (VA) or 301-686-7129 (MD)
Frequently Asked Questions
Can the outdoor unit be installed higher than the indoor unit?
Yes, within the manufacturer’s height limit. When the indoor unit sits below the outdoor unit, HVAC Toolkit notes that an oil trap may be needed in the line set so compressor oil returns properly. Check the model’s maximum height difference in the installation manual before choosing a rooftop or upper-story location for the outdoor unit.
How high should the outdoor unit sit above snow?
Higher than you might think. Mini Split Sizer notes that Mitsubishi’s guidance calls for the bottom of the outdoor unit to sit at least 12 inches above the historical average snowfall line. In Northern Virginia, a raised pad or wall bracket helps keep the unit clear during snowstorms.
Can I mount the outdoor unit on a wooden deck?
It’s best avoided. EcoTemp HVAC advises against mounting the condenser on a wooden deck, because decks tend to flex and amplify vibrations, making the system noisier inside the house. A solid concrete or composite pad, or a properly anchored wall bracket, is a better base.
Can I install a mini split myself?
It’s not recommended. Most systems require evacuating the line set and opening refrigerant valves, and Section 608 of the Clean Air Act prohibits releasing refrigerant during servicing. MRCOOL also warns that ignoring the manufacturer’s installation clearances may void the warranty, and many jurisdictions, including Fairfax County, require a mechanical permit.
Why does my new mini split make a gurgling noise?
A line set that’s too short is a common cause. HVAC Pro Sales explains that a line set shorter than about 10 feet can keep the refrigerant from stabilizing before it reaches the indoor unit, which can cause gurgling or vibration noise. If your system is noisy right after installation, ask the installer to confirm the line set meets the model’s minimum length.
How long does a split AC installation take?
A professional split AC installation usually takes about 4 to 8 working hours for a single-zone system with one indoor and one outdoor unit. Larger multi-zone systems may take longer depending on the number of indoor units, line set length, wall construction and electrical work required.
