Contact our experts to handle your home thermostat troubleshooting, repair, and replacement needs. We are happy to assist you!
Thermostat Repair in Northern Virginia and Maryland
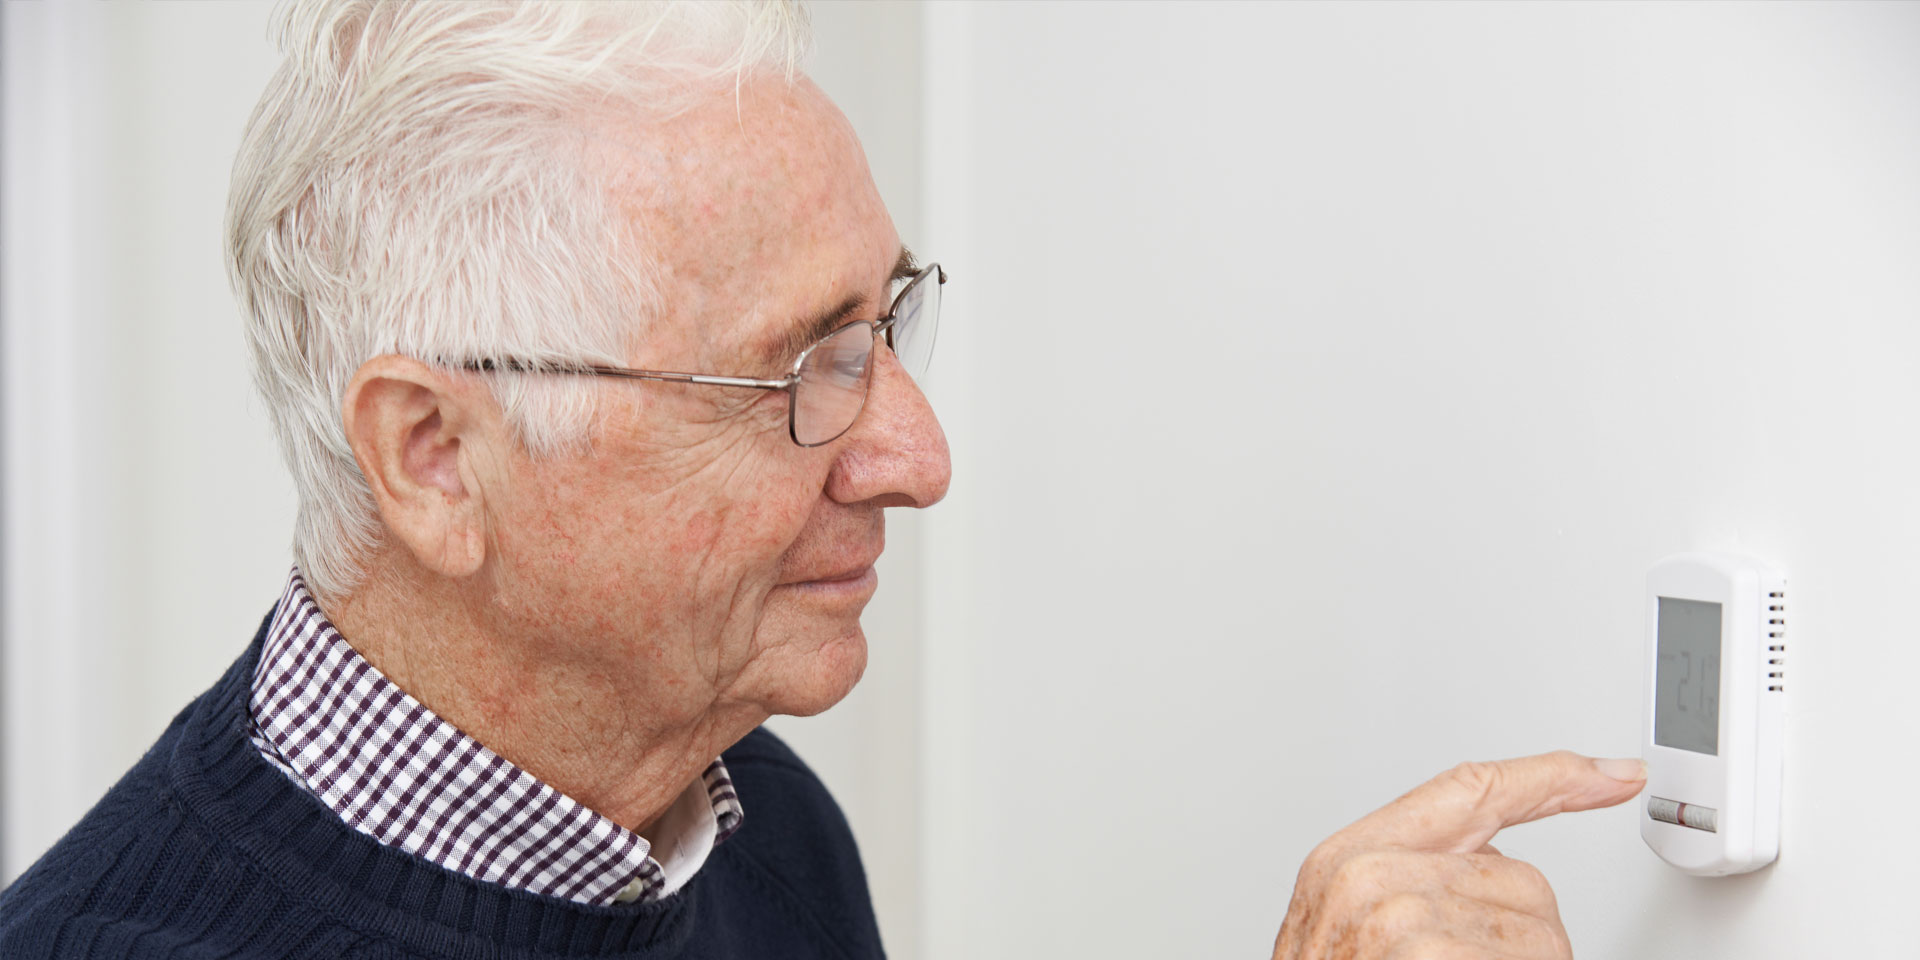
Are You Experiencing Issues With Your Thermostat? Contact our professional for assistance!
Why attempt a DIY fix or rely on an amateur to resolve your heat pump thermostat issues when our experts are here to support you? Our specialists are highly experienced in home thermostat troubleshooting and repair, ensuring accurate diagnosis and reliable solutions. We deliver consistent, high-quality service every time!
Most residential Thermostats operate on 24 volts AC supplied by a transformer located in the furnace or Air Handler to control heating and Air Conditioning systems. The transformer steps down 120 / 240 volts to 24 volts, allowing the thermostat and control components to function properly. The 24-volt signal is carried through two wires connected to the R terminal. During repair, we inspect the Heat connection and the Y Terminal to R for cooling. For Heat pump thermostats, the O or B terminal is carefully checked for proper operation. The C terminal inside the thermostat must be correctly connected when batteries are not used or when a constant power supply is required.
Our Repair Process
Give us a call to schedule a team visit to your location. On the day of the visit, someone from our team will connect with you. Once our experts arrive at your location, they will inspect and diagnose the thermostat issue. After identifying the problem, our team will repair the existing thermostat. They will also test the system functionality and resolve any concerns you may have.
Different Types of Thermostats;
- Programmable Thermostats
- Non-Programmable Thermostats
- Smart Thermostats
If you are experiencing issues with your existing Thermostat, our Air Conditioning and Heating Service Techs are available 7 days a week to visit your location and assist with repairing your HVAC Thermostat.
Direction on how we perform Non Programmable Low Voltage Home Thermostat Repair.
- Before starting, we review and follow the Thermostat manufacturer guidelines.
- Remove the existing Thermostat front part for inspection.
- Turn the Circuit Breaker off or the On / Off Switch located near the indoor AC Unit.
- Identify and document which color wire is connected to each terminal.
- Label the wires, if required, before disconnecting them from the base.
- Remove the base by loosening the screws securing the Thermostat to the wall.
- Inspect the thermostat base and internal components for loose, damaged, or corroded connections.
- Secure the existing base plate properly if it is loose or misaligned.
- Use a level to ensure the Thermostat is not leaning to the right or left.
- Reconnect the Low-Voltage Color Coded Wires to the appropriate screw terminals.
- If wiring does not match the standard configuration, refer to the Thermostat service manual.
- Tighten all wires (commonly used Thermostat terminals include Rc, Rh, C, G, W, Y, O, W1, W2, E, Aux, X) securely.
- If the existing thermostat does not have a C terminal, verify battery operation requirements.
- Install or replace batteries in the correct direction as specified by the manufacturer.
- Turn the power back On and test Heating and Cooling cycles.
- We prefer repairing compatible thermostat sizes to avoid wall paint damage.
Note: There are four basic types of Thermostats commonly used in homes Non-Programmable, Programmable, Wi-Fi, and Smart Thermostat.
Though Line Voltage Thermostat is also in use in older apartment buildings.
Special offer

Need Emergency Service? Call Us
 VA 703-457-9028 MD 301-686-7129 24 Hours, 7 Days a Week, 365 Days a Year!
Testimonials Our Customer Stories

I first time used AVS Heating for a maintenance service and I was pleased with the service and signed up for their Service Contract for only $199. Yearly. Overall, great experience and highly recommended.
Justin B
Clean, efficient, professional, that's how I describe AVS Heating. Our AC went out and Raul and Jose was able to install a new unit the next day. He and his crew worked in a freezing cold attic. The installation was perfect and the price beat the competition by a long shot. Courteous crew and owner. Highly recommended.
Maria G
Jose was wonderful to work with! He was incredibly fast, professional, and helpful when my Oil Furnace stopped working. I was able to get a quote from him within a few minutes and he had my problem diagnosed and repaired very quickly. I would highly recommend him and plan to use him for any future AC or heating issues I may have.
John M
This is the second time my fiancé and I have had AVS come to repair our appliances. The first time they took great care of our 8 year old LG fridge. This time our Mile dishwasher quit working. Jose came out and was extremely friendly and knowledgeable about the dishwasher. He diagnosed the problem very quickly and gave us an honest advice and replaced the water inlet valve. We will absolutely use them again when our appliances slowly start to go out on us one by one. Thanks guys!
Nancy P
A Neal, Came in as a second opinion from AVS company that was sent by my Home Warranty company. He listened to the issue and got to work. Tech was in and out within 30 minutes diagnosing the issue and taking care of the loud noise due to a idle pulley. Great Customer Service and Avs will be my recommendation to all of my friends!
Jack T
For the past few weeks our 9 year old water heater had not been working properly. I called AVS and Anil came to troubleshoot the problem. He diagnosed the problem to be with the Temperature Sensor and ordered the part. When the part arrived Anil from AVS came promptly and changed the part. My family and I are thrilled to have lasting hot water again. A few weeks ago, our sump pump had stopped working. AVS sent a couple of men who replaced it with a new and more quiet one. The men were were polite, knowledgeable and professional, and did the work right the first time. I'm glad we chose this company.
Darin K
Called and spoke to Wendy, she was very nice said she would order the part needed and would contact me when it came in. In less then a week the part came in and we scheduled an appointment. Irfan came out, he was very personable and replaced the part. He made sure our heater was up and running before leaving. We will definitely use Compare for any future needs.
Antonio L
Mr. A Neal and his team are great! We needed HVAC work done professionally and by code. They helped us fix a mess of mistakes that someone else previously made with the HVAC system. A huge relief to know the HVAC system in our home is in safe working order! Owner has a great knowledge of Hvac. Thank you very much!
Mike B
This is the best company you can use for a new water heater installation. Danny is one of the few people that knows if you give a fair price and don't Price gouge people you'll make up for in word-of-mouth business. There's a reason he has 5 stars on Yelp and Google. This is the happiest I've ever been with any home service company, you must use AVS in Bethesda, Md. My in-laws have been using this company for over 13 years. I would strongly recommend to call this Company for repair or a new water heater installation.
Susan C
Quick, fast, and curries. And I didn’t feel like I got gouged.
Charles M
can't say anything bad! our washer took a poop on a sunday night.. we found AVS on yelp and called monday afternoon. The soonest they could come out was tuesday. He diagnosed the problem within minutes... a pump on my washer had failed. he didnt have the part in stock but he was able to get it and install it on Wednesday, He was professional and polite and did exactly what he said he was going to and when. I will def use them again! Thank you
Robert Y
Had AVS out after another company told us we needed to replace an entire air-conditioning heat pump system for $12,680. AVS fixed what was broken for 1063. Very knowledgeable and great service.
Fernando J
I called to have my dishwasher fixed and Aneal came over and was very nice and knowledgeable. He ended up fixing my dishwasher for half of the quoted price and I have a 90 day warranty. I couldn't be happier with the work and would recommend to anyone in need of appliance repair
John H
Friends. That's what AVS means to my family. A company full of excellent characters, from the administration through to the technicians who go out of their way for us *every visit*. We have no hesitation calling these folks for our HVAC stuff - chances are high this will extend to the their Heating techs based on the fantastic service received to date.
Henry W
I am very pleased with the service I received in the repair of my refrigerator. I called three other repair services and the wait was over a week! Jose, the technician was on time, answered all my questions, and completed repair needed at a reasonable rate. I will use them again if needed.
Kamal H
This was my first experience with AVS Appliance and Hvac. The tech was very courteous and friendly. He explained the work to be completed and what changes were made. Excellent work. I intend to use them in the future and would recommend this business to a friend. Thanks!!
Debra W
Impossible to get a better service on my gas furnace on Sunday night. Within two hour my furnace was On again. Thanks to AVS.
Kelly J
Best company of Northern Virginia. AVS team is the best ever. We recommend this company.
Lou
Avs has come to my place and taking care of refrigeration and ac heating units. I am very satisfied with the quality of work and price.
Ibrahim S
We have been using AVS for several years and have been pleased with their friendly expert service.
Jeff M
The technician came out same day fix my no heat problem !! Excellent customer service, very professional!
Ijaz Rana J
They have installed unit at my home in 2004. I have a problem with my unit and they fix it on time
Jay s
They were very nice and neat and knowledgeable.
Janie O
Super
Nickie W
Very nice to work with reasonable rates great work
Lianna
Coldest day of the year, they took care of business.
Ric
Good techs
Tony J
Very good service
Donta E
Excellent service. Anil has come out several times with short notice-professional and quick to resolve all issues. Has my trust for further services. And very pleasant
Mb G